
Designer Staircase
The stairs in our house were covered in plush carpet, which made me feel like I was walking up one of those "cat towers" that the cat lady gets for her 142 cats. Gross.
So I tore out the carpet hoping to find beautiful wood stairs underneath. No such luck, just cheap plywood that had been installed rather lovelessly.


Below you can see a side-by-side comparison going from the original, to the Photoshop pre-visualization, to the final result. The stair treads and risers were custom made, which meant a ton of planning and work, that hardest part being fitting the stair treads perfectly into place.
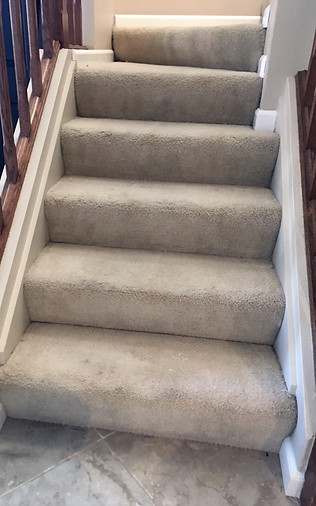

ORIGINAL
PHOTOSHOP
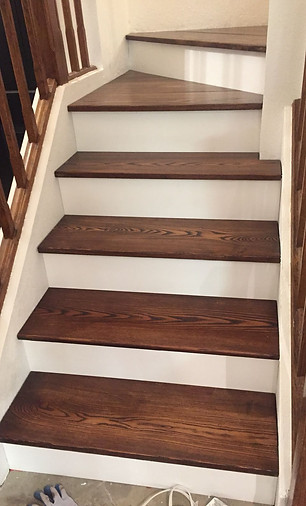
FINAL
The first thing I did was sketch out plans for how to fit the treads and risers over the existing framework, making sure everything was to code. I quickly discovered that there was no way I could get pre-built treads and risers, I would need to make them from scratch.
I also measured to see how much wood we would need. With some searching I found some beautiful Ash 1x12 boards that were around 10 feet long that I had delivered. The boards were not perfectly straight, so I had to make a jig to straighten them.


The way the jig works is you clamp the wood to the straight board which you run along the rip fence of your table saw. That makes one side perfectly straight, and then you can just flip it around and run that along the rip fence to straighten the other side. I made several jigs like this for the project, including an alignment fence with stop-block for my miter saw, and a jig to get measurements for the tread angles. It was fun coming up with and building all of these contraptions.
Because our stairs turn a corner, I needed to get the precise angles of the cuts so they would fit perfectly. What worked best to do this was taking a large piece of paper and folding it to fit into the area where the step would go. I then used this as a stencil to cut the boards. Additionally I used a protractor that I would fit into the angle I needed, lock, and then line up with my miter saw to get the exact angle I needed. I found that when I set the angles by number (as in 45 degrees) this was inaccurate. So I ignored the numbers, and just went with the "matching shapes" method which is 100% accurate.

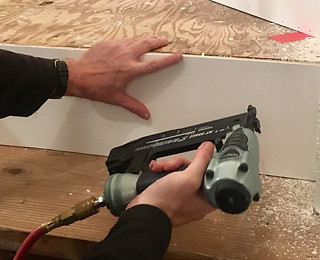
I made the risers out of plywood that I painted white, and then attached with a nail gun (big thanks to my friend Robin for letting me borrow his!). By planning out where to nail the risers, I was able to hide the nail holes with the treads. The nail holes on the bottom are covered by the overlapping treads, and the holes on the top are just below the stair nose and thus also virtually invisible.
After fitting and cutting the treads, I sanded them smooth, and routed the ends to make the stair noses. Next I stained them to match the walnut color of our hardwood floors.
The final step was to coat them in polyurethane. We went for a water based poly, made especially for floors, since we wanted to have a strong protective coating that would stand up to all the foot traffic they would be getting. This had to cure, which took about a week. So we had the boards sitting in our bedroom until they were finally ready to be put in.

I attached the treads with a combination of ample amounts of construction adhesive with brad nails to lock it in place while the glue dried. This was the easiest part of the whole process and went quite quickly.


For a future project we plan to replace the wooden guard rails with horizontal black iron pipes. Even though the old guard rails match the color of our new stairs, the design of them is very "old school," and we want to go for a more industrial "modern farm-house" look.
